Microservice Provisioning & Deployment
1) Overview
Intro to automated provisioning and deployment of DIDroom microservices (Authorization, Issuance, Verification). Includes infrastructure setup, packaging, and rollout through the Dashboard, PM2, or Docker Compose.
Flows
- Template creation → Flow generation → Deployment (AES, CI, VER)
- Dashboard auto-generates HTTPS, routing, and Docker/PM2 configs
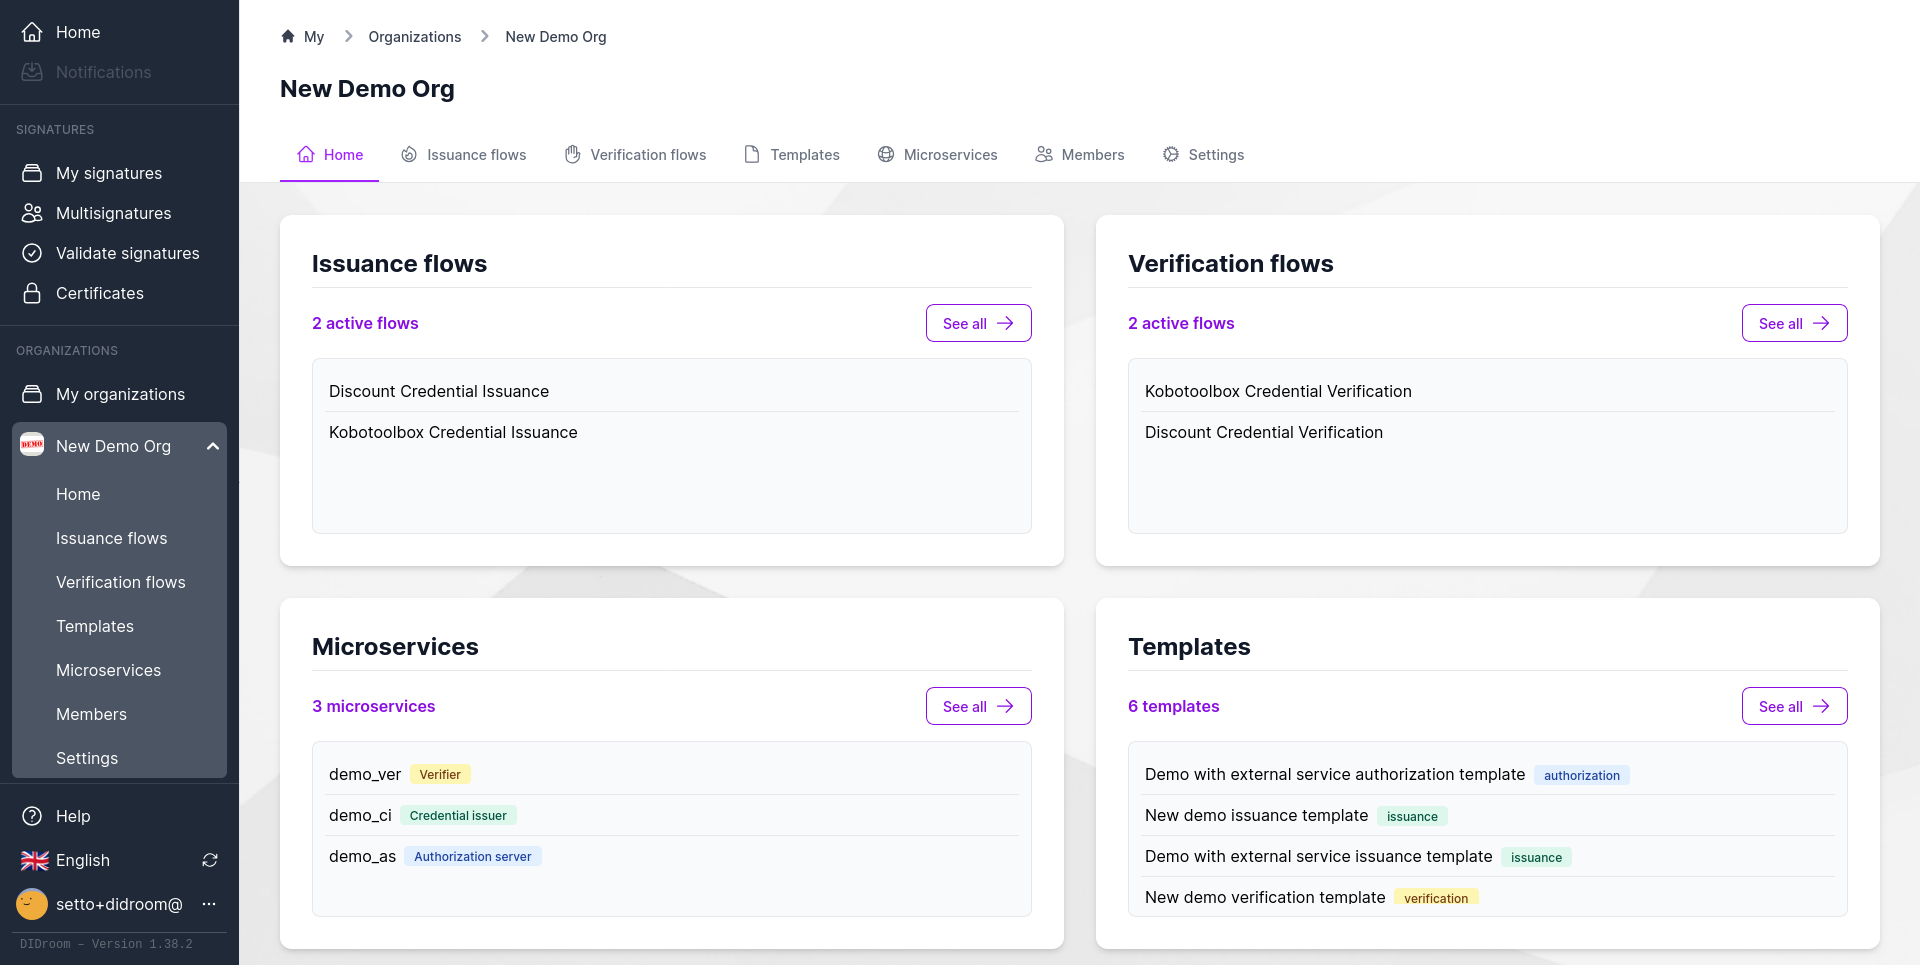
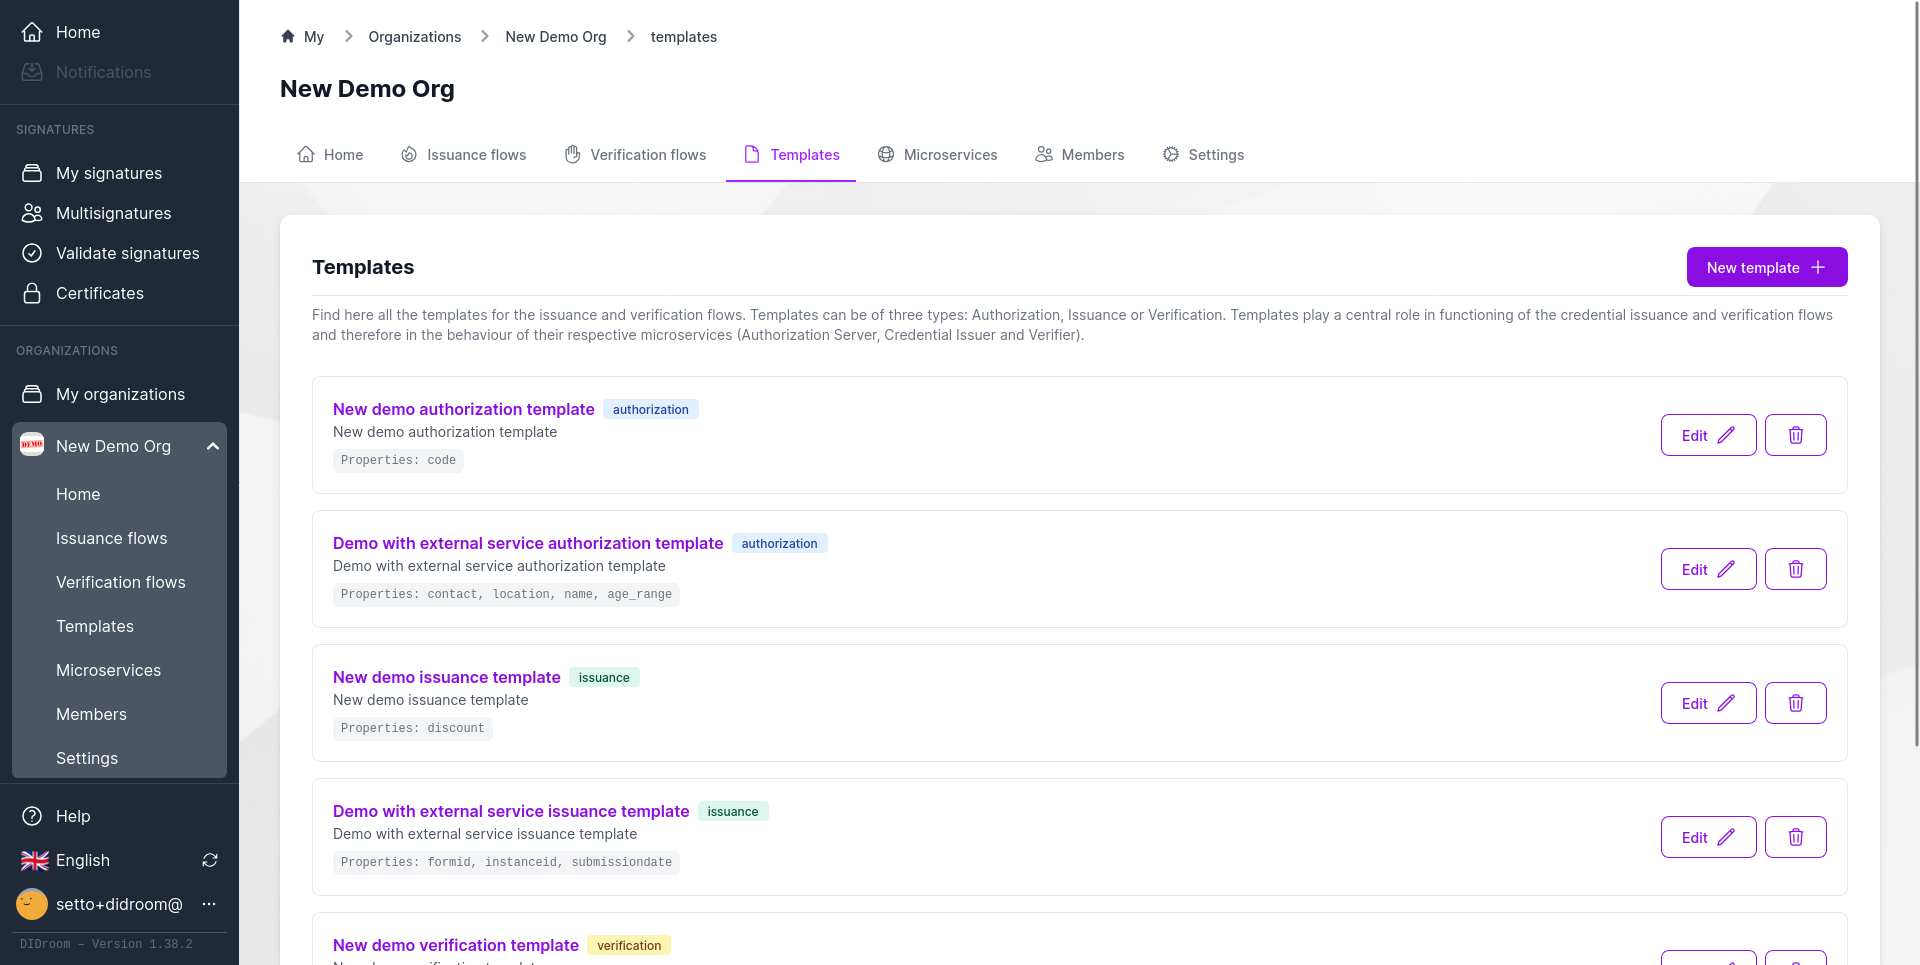
2) Templates and Flows
Templates define the business logic for Authorization, Issuance, and Verification. Flows connect templates into runnable services.
Steps:
- Create
Authorization,Issuance,Verificationtemplates - Combine them into:
- Issuance Flow (Authorization + Issuance)
- Verification Flow (Verification template)
Flows
- Template → Issuance Flow → Verification Flow
- Each Flow becomes a deployable microservice trio
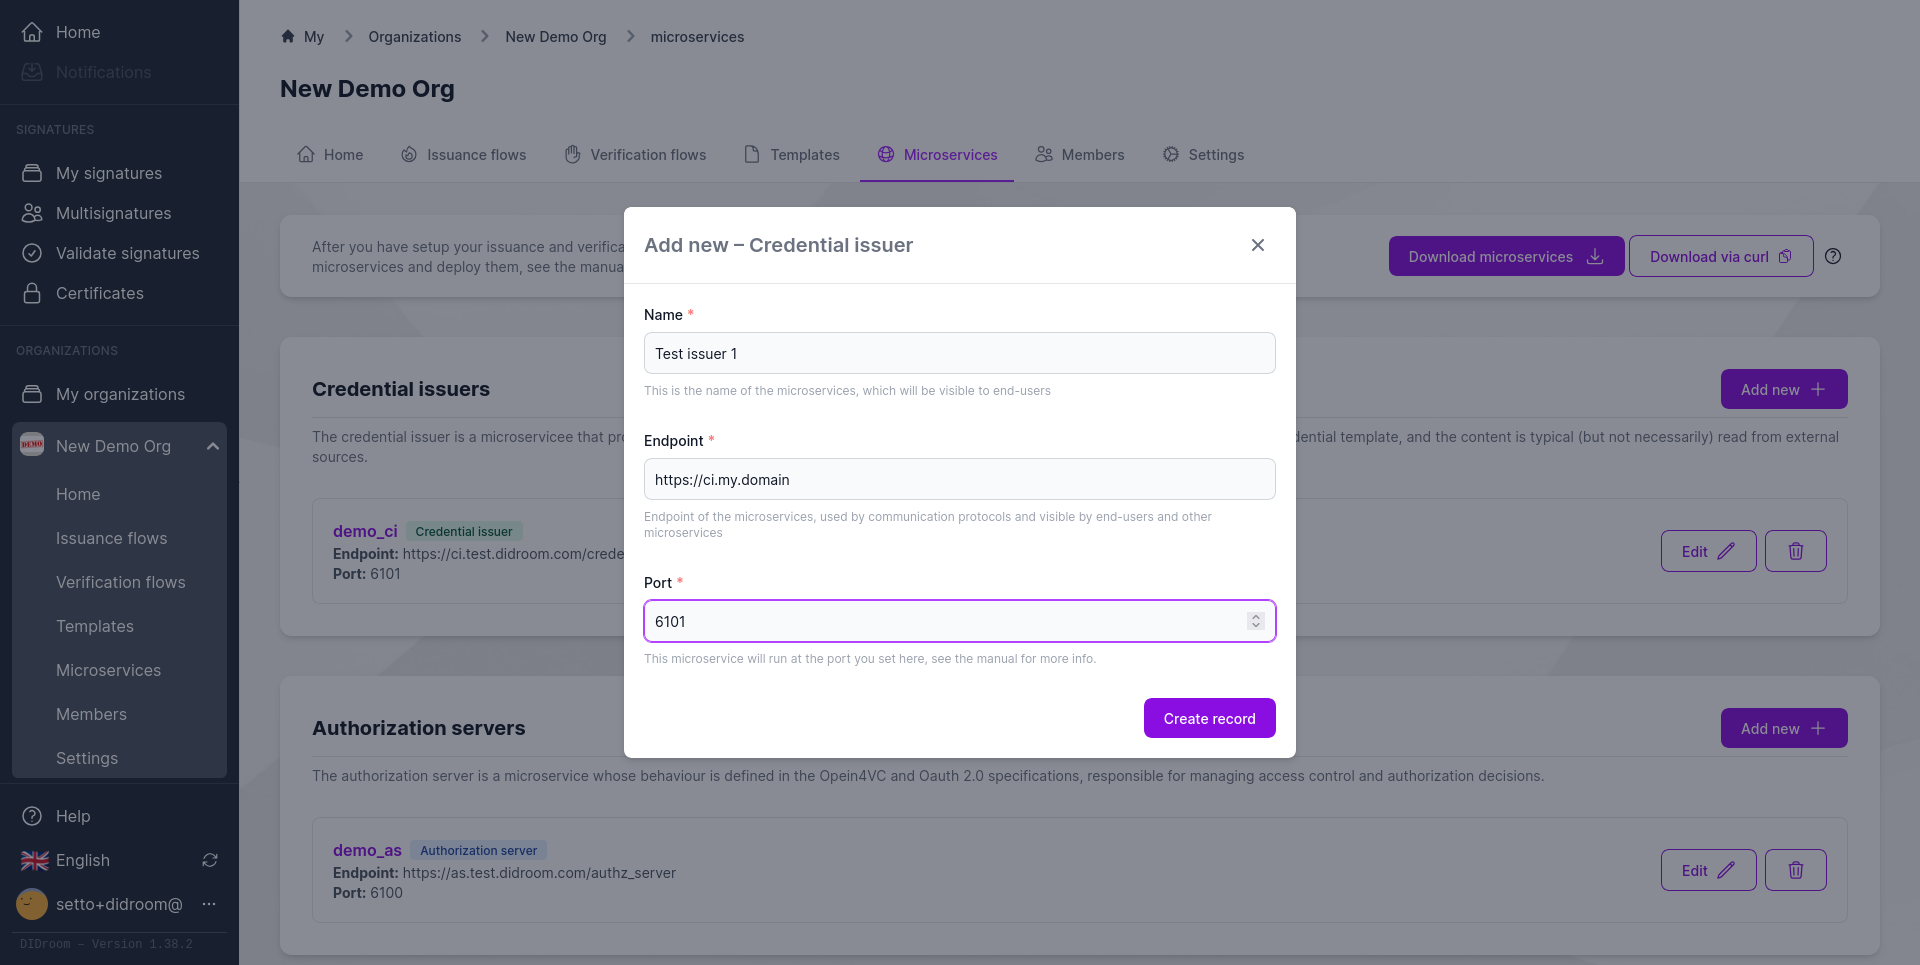
3) Microservice Configuration
Each flow is bound to one or more microservices:
- AES: Authorization Server (
aes.my.domain:6100) - CI: Credential Issuer (
ci.my.domain:6101) - VER: Verifier (
ver.my.domain:6102)
The Dashboard generates:
- Dockerfiles
- PM2 scripts
- Reverse-proxy (Caddyfile)
Flows
- Flow → Microservice assignment → Auto-generated build + deploy config
4) Download & Deploy
Two download options:
- ZIP (manual unpack)
- cURL command (for remote deploy)
Example:
curl -X POST https://dashboard.didroom.com/api/microservices/download \
 -H "Authorization: Bearer <token>" \
 -d '{"org":"<org_id>"}' -o microservices.zip
unzip microservices.zip
5 Start, Verify and Debug Deployment
Once the ZIP or cURL-based deployment is complete, each folder (aes/, ci/, ver/) contains everything needed to run locally or in production.
🧩 Folder contents
Each microservice includes:
Dockerfile— container definitionMakefile— local build/start helperstart.sh— shortcut to launch via PM2docker-compose.yaml— auto-generated by Dashboard (includes Caddy reverse proxy)
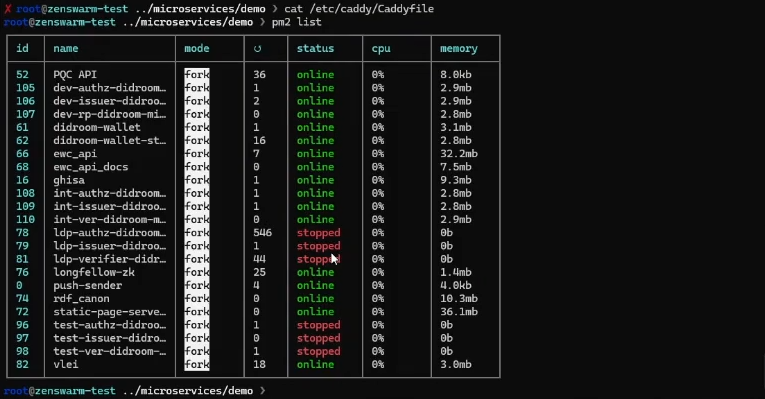
▶️ Starting the Services
Option A — PM2 (recommended for bare-metal or VM)
Use the helper script to launch all services and keep them supervised:
./start_all_pm2.sh
pm2 status
Option B — Docker Compose
For a fully containerized setup, use the generated docker-compose.yaml:
docker compose up -dDocker Compose spins up:
aes (Authorization Server)
ci (Credential Issuer)
ver (Verifier)
caddy (reverse proxy with HTTPS via Let’s Encrypt)
Flows
PM2 → local process management
Docker Compose → multi-container orchestration + HTTPS routing
Verification & Debug
After startup, verify each service via its discovery endpoint:
open https://ci.my.domain/.well-known/openid-credential-issuer
This confirms:
Correct HTTPS setup
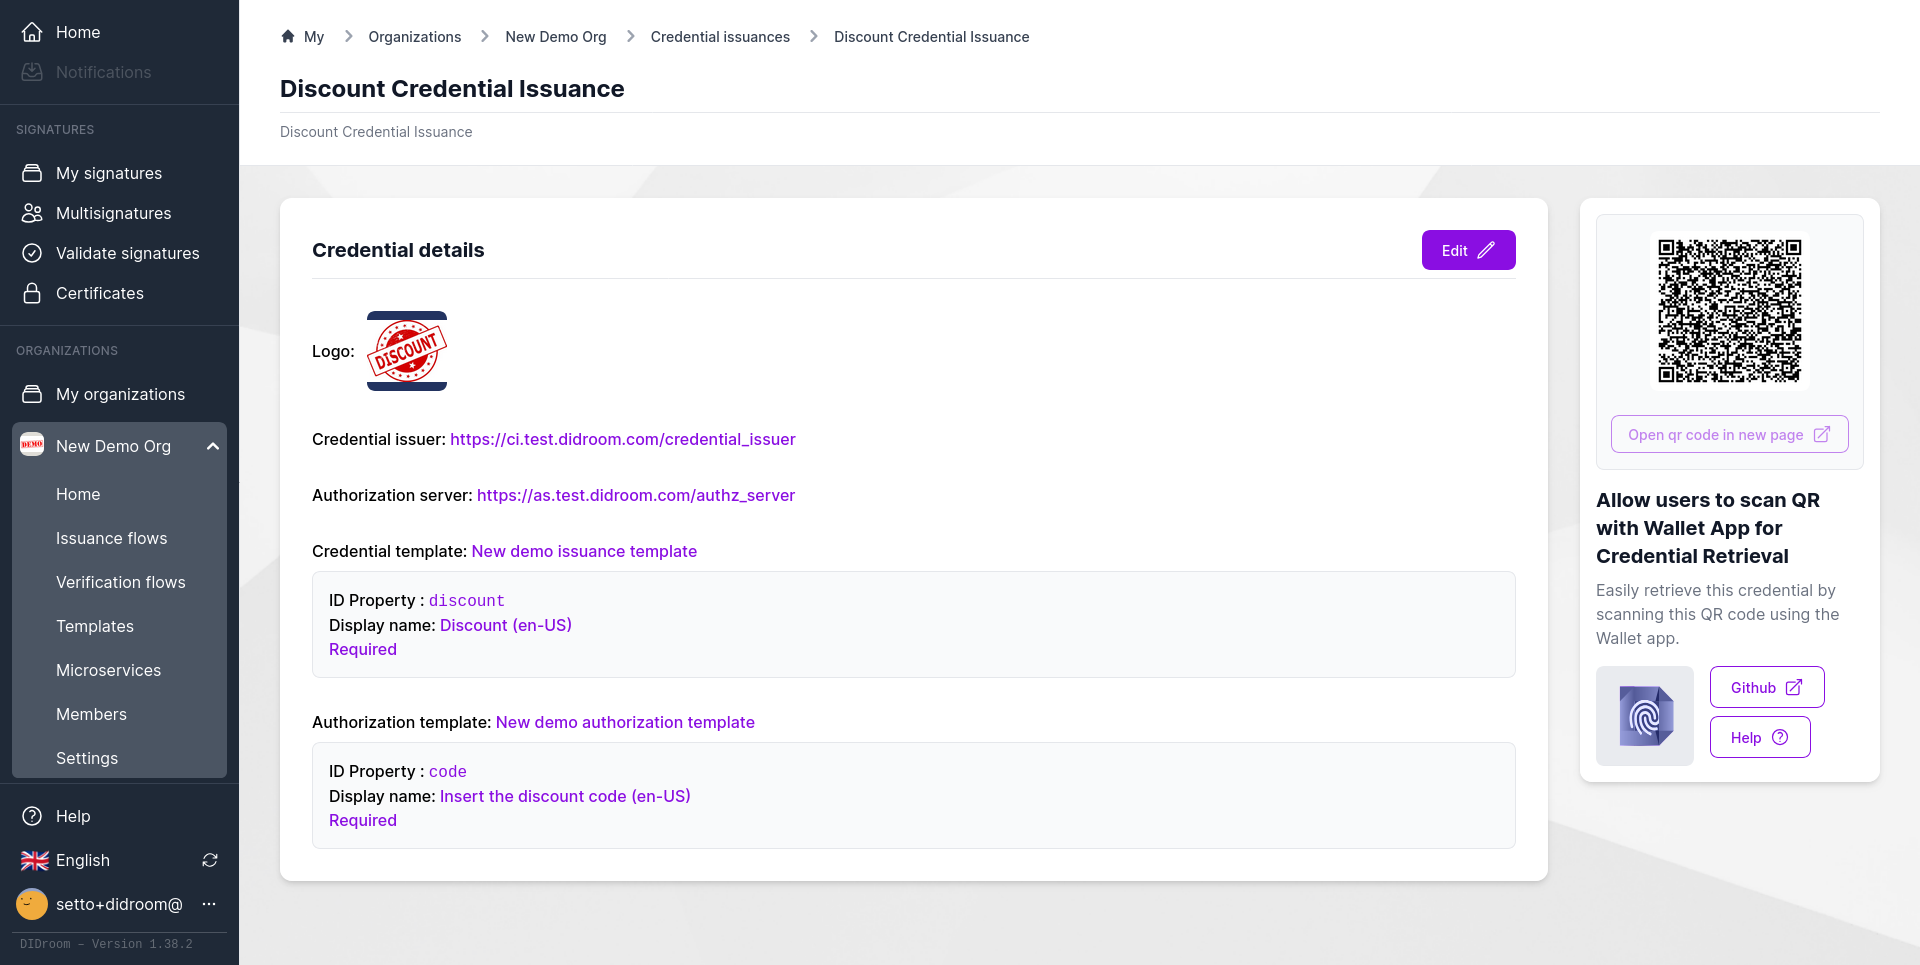
Credential type (e.g. Discount Verifiable Credential)
Supported claims (e.g. discount)
Cryptography (W3C-VC 2.0, SD-JWT, etc.)
The Verifier exposes its list of available verification flows at:
https://ver.my.domain/verifier/list
Each card corresponds to a flow defined in the Dashboard; clicking one displays a QR code that wallets can scan to initiate verification.
Flows
Credential Issuer .well-known → Verifier list → QR-based end-to-end test
Wallet scan → Authorization → Issuance → Verification feedback
✅ Result: all three microservices (AES, CI, VER) are running under PM2 or Docker, reachable under HTTPS at aes.my.domain, ci.my.domain, and ver.my.domain, completing the full issuance + verification loop.